Create Storyboards with AI: A New Era of Storyboarding at Your Fingertips Imagine turning your story ideas into captivating visuals in minutes. No sketching skills? No problem. Creating professional-quality visual storyboards has never been easier, faster, or more accessible. Whether you’re a filmmaker, marketer, educator, or creative enthusiast, ChatAI is your ultimate companion for visual […]

Imagine turning your story ideas into captivating visuals in minutes. No sketching skills? No problem. Creating professional-quality visual storyboards has never been easier, faster, or more accessible. Whether you’re a filmmaker, marketer, educator, or creative enthusiast, ChatAI is your ultimate companion for visual storytelling.
This guide will walk you through the entire process on how to create visual story boards with AI, step-by-step, showcasing how ChatAI transforms abstract ideas into vivid, dynamic storyboards. By the end, you’ll have all the tools you need to bring your creative vision to life effortlessly.
Before creating visuals, start by defining the purpose and structure of your storyboard. Think about the story you want to tell, the key scenes you need to include, and the emotions you want to evoke in your audience.
Prompt:
“I want to create a storyboard for [project type, e.g., a short film, marketing campaign, or educational video]. The story follows [briefly outline the main idea or plot]. Key scenes include [describe the major events or moments]. The tone should be [e.g., dramatic, lighthearted, or educational]. Provide a basic structure for the storyboard, including suggested frames and scene descriptions.”
Pro Tip: Be as specific as possible when outlining your scenes. The more clarity you provide, the better ChatAI can capture your vision.
Choosing the right visual style is critical—it sets the mood for your entire project. Whether you’re aiming for a sleek, modern design or a whimsical cartoonish feel, ChatAI can help tailor the style to your needs.
Prompt:
“I’m working on a storyboard for [project type]. The visual style should be [e.g., cartoonish, realistic, or sketch-based]. Suggest the best artistic approach for this style and describe how it aligns with my project’s theme.”
Pro Tip: If you’re unsure about the style, ask ChatAI for a few examples to compare. This will help you find the perfect match for your project.

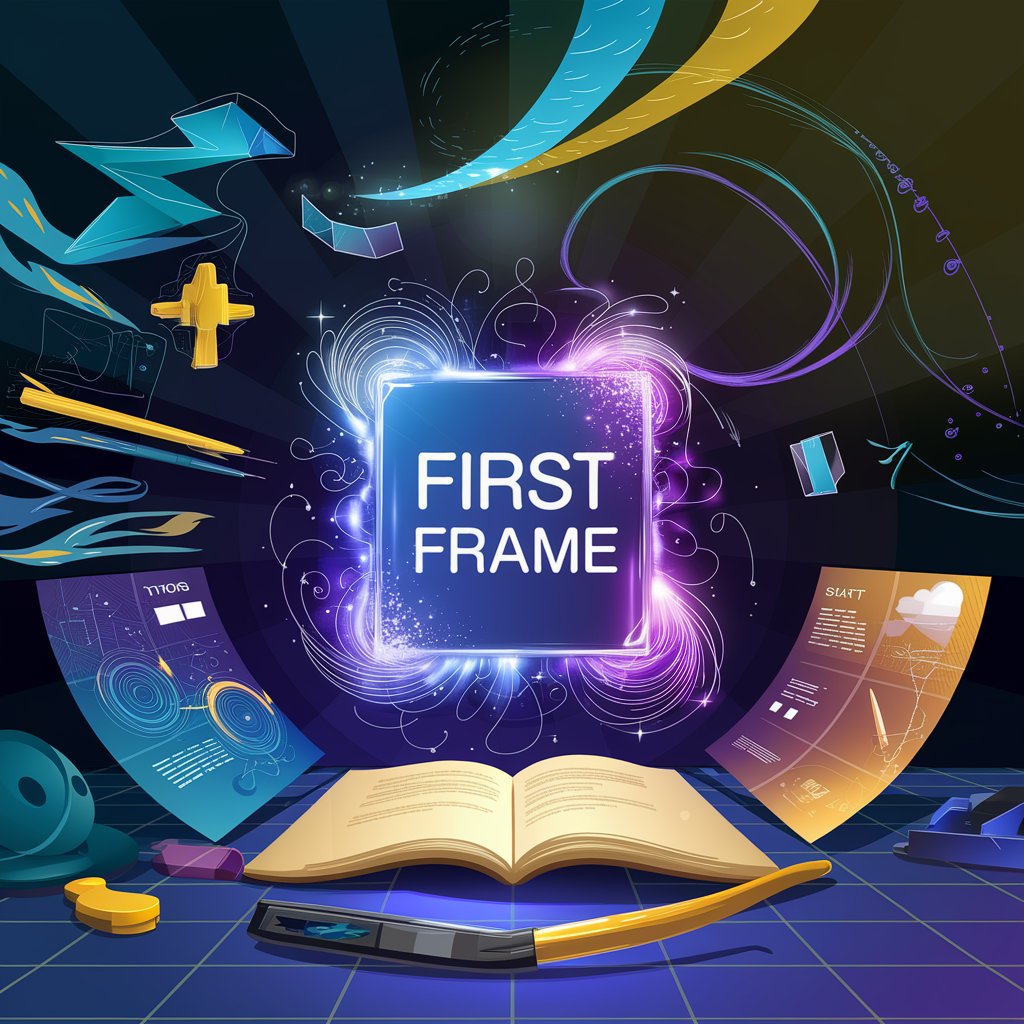
The first frame is where everything begins. It should set the tone, introduce the setting, and give viewers a clear sense of direction.
Prompt:
“Using the concept from Step 1, create the first frame of the storyboard. The scene features [describe the characters, setting, and actions]. Include visual details such as [e.g., color palette, perspective, and lighting]. Provide a descriptive narrative for this frame.”
Pro Tip: Mention specific elements like camera angles or lighting effects for a more cinematic look. For example, specify “a wide-angle shot of a bustling city street at dusk.”
Once you’ve nailed the first frame, it’s time to build the rest of your storyboard. Add key scenes to establish flow and momentum in your visual narrative.
Prompt:
“Expand the storyboard to include [number] additional key scenes. For each scene, consider [specific elements like character development, transitions, or key plot points]. Maintain the same visual style as the first frame.”
Pro Tip: Use ChatAI to explore different pacing techniques. For instance, a quick series of frames can build tension, while longer, detailed scenes provide depth.
Details matter. The small elements in each frame—props, gestures, facial expressions—add depth and richness to your storyboard.
Prompt:
“Refine each frame of the storyboard by adding detailed descriptions. Include small but significant elements like [specific props, character expressions, or unique background features]. Ensure these details enhance the story and its visual appeal.”
Pro Tip: Consistency is key. Ensure that elements like lighting, colors, and character designs remain uniform across all frames for a cohesive look.
Annotations are essential for communicating your vision to collaborators. These notes can include details about camera angles, lighting, scene objectives, or emotional tones.
Prompt:
“Add annotations to each frame of the storyboard. Include notes on [camera angles, lighting techniques, or emotional tone]. Ensure the annotations provide clear guidance for the visual execution.”
Pro Tip: Use diagrams or symbols alongside your annotations to make them even clearer. For example, add arrows to indicate movement or light sources.
Once your storyboard is ready, share it with collaborators for feedback. ChatAI can even help you summarize feedback and implement changes efficiently.
Prompt:
“Create a summary of the storyboard for presentation. Include key details about the project, visual style, and narrative structure. Offer a section for feedback and provide a list of potential revisions based on common collaborative inputs.”
Pro Tip: Generate alternative versions of key scenes with ChatAI to give collaborators multiple options to choose from.
The final step to create visual storyboards with AI is to polish and package your storyboard for presentation or production. ChatAI can assist in creating professional formats for easy sharing.
Prompt:
“Finalize the storyboard for [presentation, production, or pitching]. Generate a clean layout with each frame, annotations, and a summary section. Export suggestions include [PDF, PowerPoint, or online storyboard format].”
Pro Tip: Add an introductory slide or title page to provide context about the project. This helps set the tone for your audience.
Dive deeper into ChatAI for art
Creating a visual storyboard with AI can be daunting, especially if you lack experience or artistic skills. This article breaks down the process into manageable steps, providing actionable prompts and tips to make the experience seamless and enjoyable.
ChatAI isn’t just a tool; it’s a creative partner that simplifies your workflow, enhances your ideas, and saves you time. Whether you’re an industry professional or a newcomer, following this guide ensures you can harness the full potential of ChatAI to create storyboards that captivate and inspire.
By implementing the techniques outlined here, you’re not just creating a storyboard—you’re bringing your vision to life with clarity and precision. So, the next time you’re tasked with crafting a compelling visual narrative, remember that ChatAI is here to guide you every step of the way.